Blomstergirlang

DSCF5099
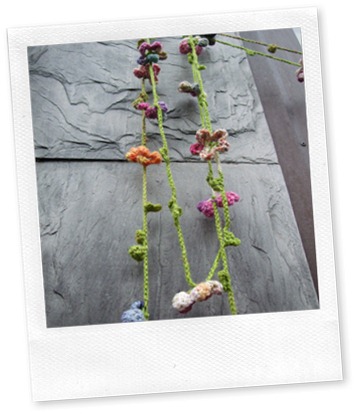
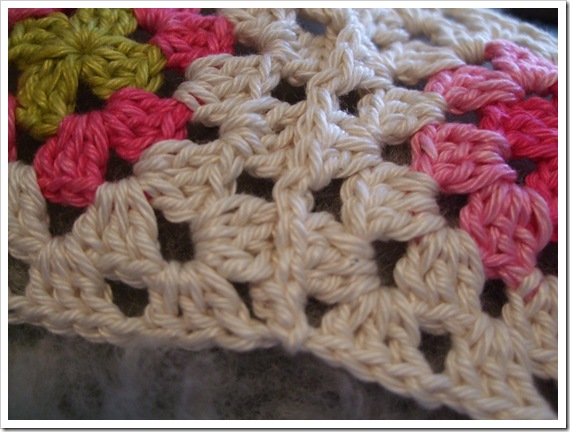
Virkad blomstergirlang
Använd grönt garn till girlangen och färgade restgarner till blommorna.
lm = luftmaska
fm = fast maska
sm = smygmaska
st = stolpe
dst = dubbelstolpe
*Virka 15 lm, en fm i 4e lm från virknålen, virka runtom ringen: (3 lm, 1 fm) 3 ggr*
Upprepa från * till *. Du har nu gjort girlang och 2 stycken blad.
Virka 15 lm, en fm i 5e lm från virknålen, virka runtom ringen: (4 lm, 1 fm) 5 ggr.
Du har nu gjort girlang och en blom-bas.
Fortsätt virka 2 blad och 1 blom-bas så långt du vill.
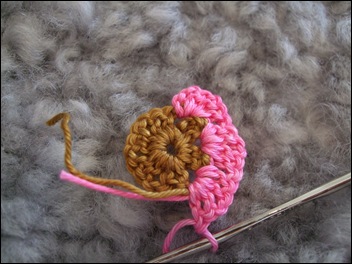
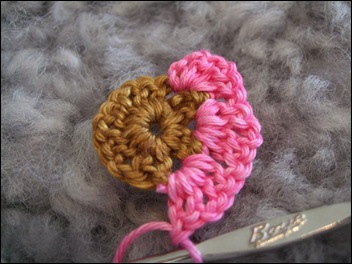
Blommorna virkas runt varje ring som bildar blom-bas:
Om varje lm-båge: 1 fm, 2 lm, 1 st, 3 dst, 1 st, 2 lm, 1 fm.
blomma
a

Crochet 2colour tips

A couple of tips for crocheting 2colour patterns.

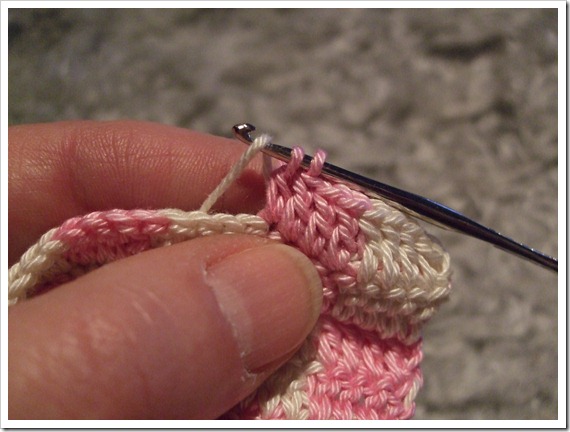
DSCF4502
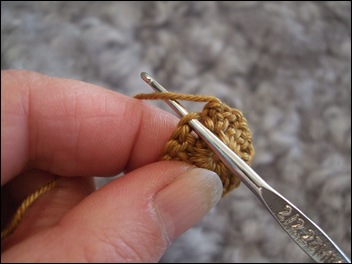
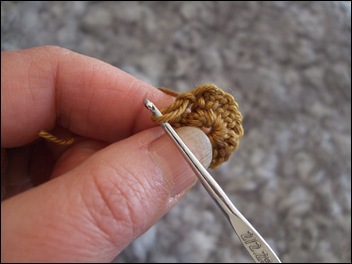
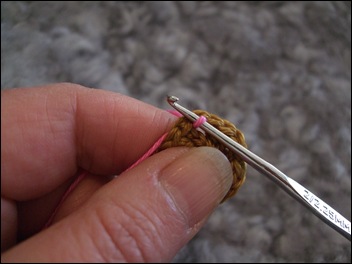
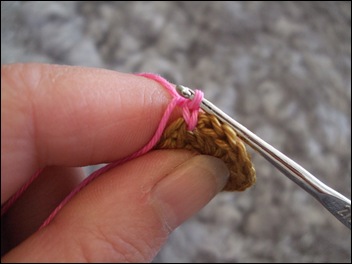
When changing from colour1 to colour2, make sure to do the
change on the last stitch of the first colour.

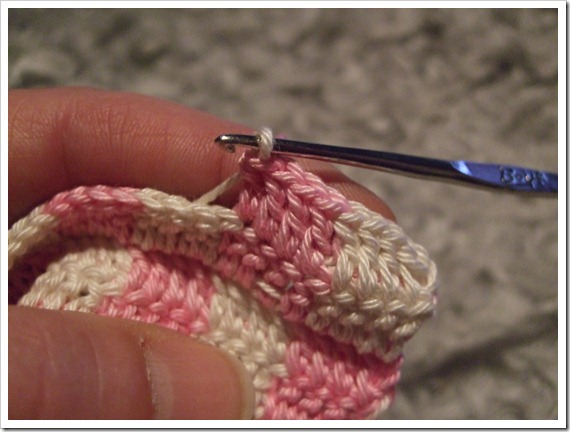
DSCF4503
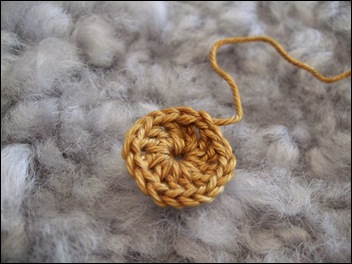
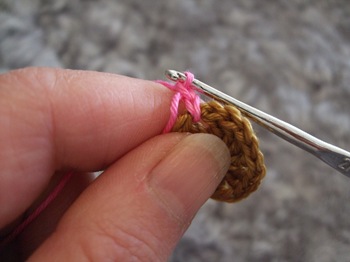
At the top of the work you see the smooth colour change.

needle

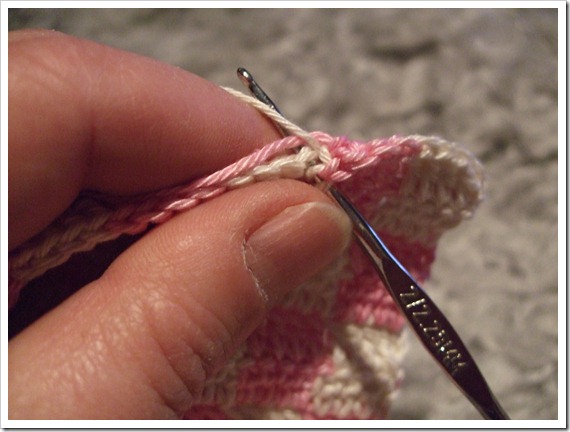
DSCF4504
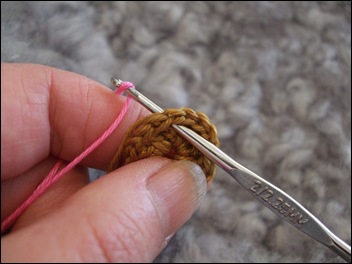
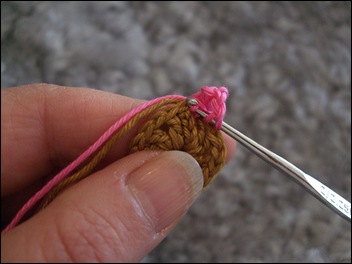
Always keep the thread not in use very close to the work,
and crochet around it to keep it inside the work.

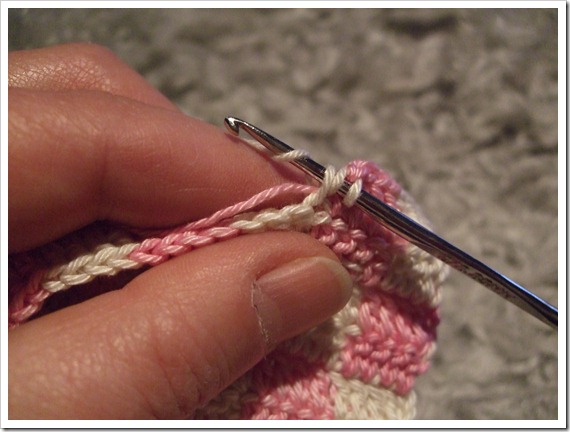
DSCF4505
This way, there will be no loose threads on any side of the work.

crab

a

Join-on-the-go

I get a lot of questions about how to join hexagons with
the join-on-the-go method.  Time for a tutorial.

Here we go.

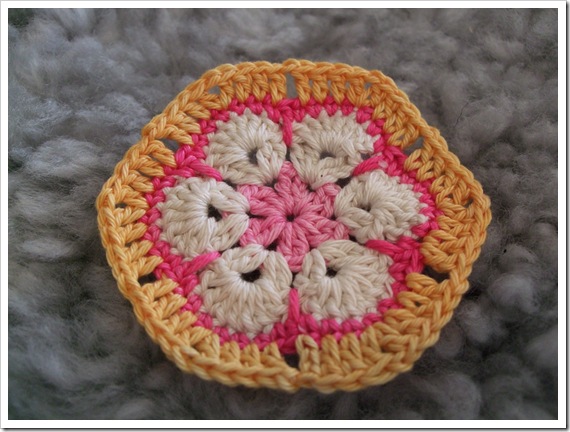
DSCF3661
The basic pattern for the african flower hexagon can be found
in english here >> and in swedish here >>

To use the join-on-the-go method, you need to change the middle dc on each
side of the hexagon into a chain stitch. This will give you 12 points to join
the hex’s together. One point in each of the six corner and one point
at each of the hexagons sides. You can see it in the picture above.

DSCF3662
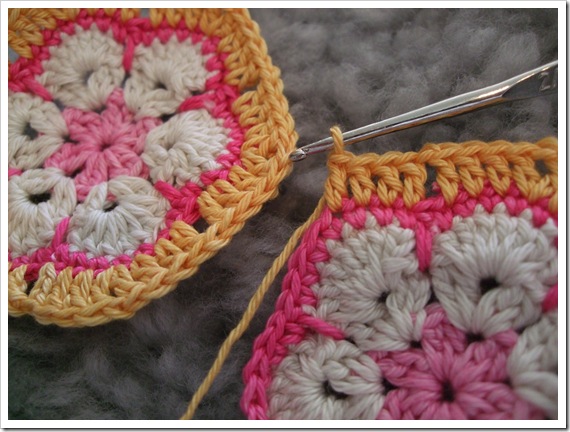
You will make the joining on the last row of the hexagon pattern (the dc row).
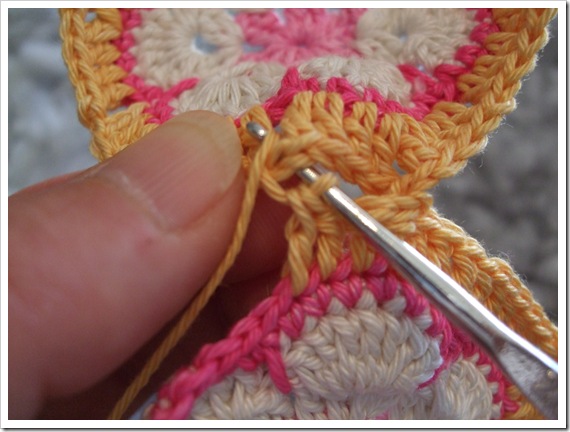
When you reach one corner you make the chain stitch around the
chain stitch in the corner of the other hexagon.

DSCF3663
Put the hook through the “hole” at the corner, get the yarn with the
hook and pull the yarn through…

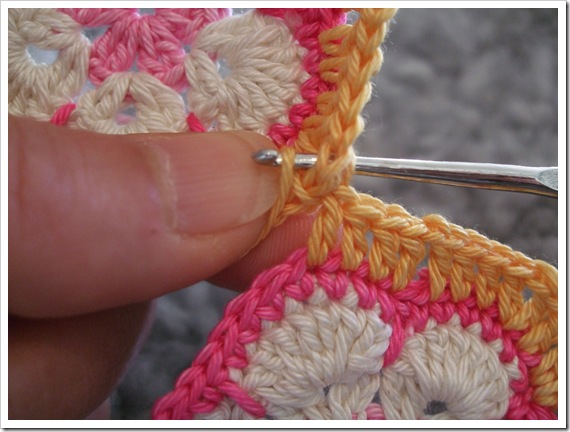
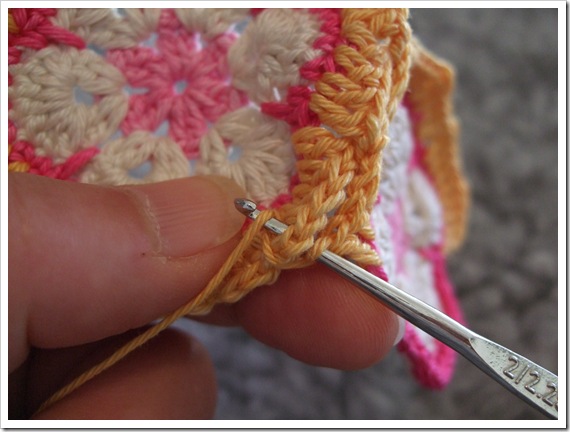
DSCF3665
… and through the loop on the hook, to form a chain stitch around the corner.

DSCF3666
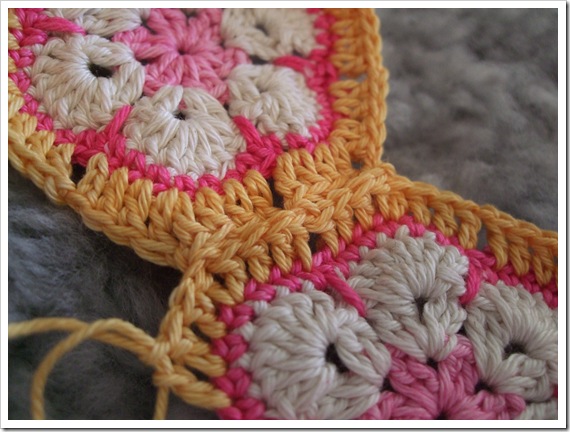
Make 4 dc along the side, and then join again with the next chain stitch.

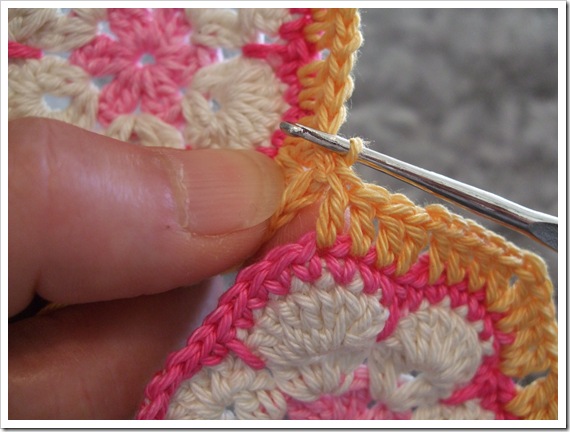
DSCF3667
Make again 4 dc along the side, and again join with a chain stitch in the corner.

DSCF3668
Tadaa! - You have now joined two hexagons together.

Element_Stitching_H

The join-on-the-go method can also be used for granny squares.

DSCF3669
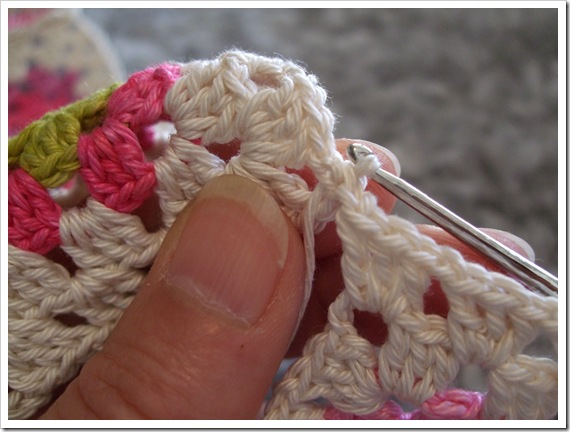
As a granny square has three chain stitches at each corner to make them square,
when joining at the corners you need to make one chain stitch, join with one chain stitch,
and then one chain stitch again. Don’t forget about the extra chain stitches!

DSCF3670
Along the sides just join with one chain stitch same as with the hexagons.

DSCF3672
This is how your finished result will look like. Neat isn’t it ?!

carinagardner_2ps_mayfreebie_element_flower

aaa

Drop spindle DIY

Maybe you are just like me. You want to try lots of different things, but you
don’t want to pay a lot of money for expensive equipment – just to give it a try.
That’s how it was for me when I wanted to try spinning with a drop spindle.
Luckily I found a DIY tutorial on the web, and I made my own.

This is how I made my first – and very usable – spindle.

DSCF3626
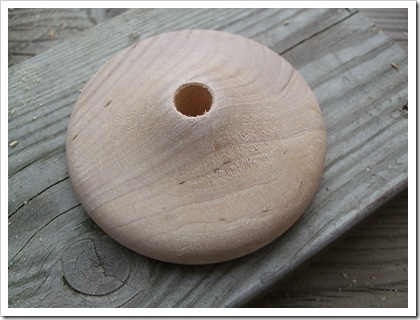
I went off to the local craft store (Swedish Panduro) and bought the bottom
plate for making a table flagpole, to the cost abt EUR 1 – not a big deal.
It measures abt 85mm and the hole is 10mm diameter.

DSCF3627
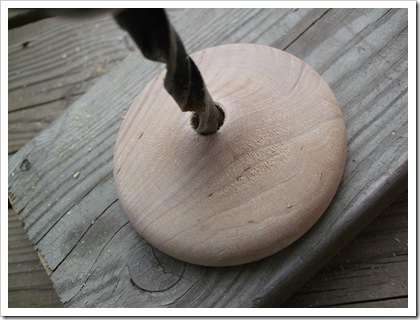
As for the flagpole the whole is not drilled all through the wooden plate,
you will have to do just that. Make sure your drill is same size as the
whole, and that you do not tilt the drill while drilling.

DSCF3628
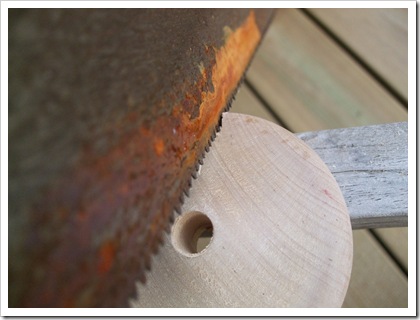
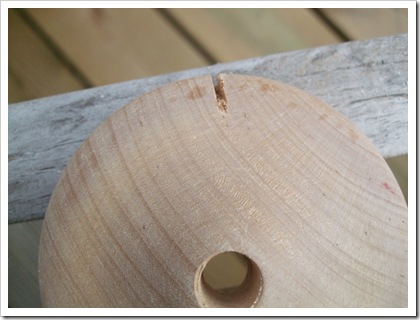
Then with a saw or a knife you make a scar at the side of the
wooden plate. Yeah, I know my saw is a bit rusty but it works anyway.

DSCF3629
Now, this small scar will hold your yarn in place while spinning.

DSCF3630
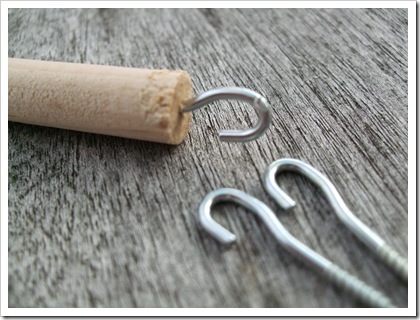
Take a wooden stick same size as the whole, and cut it to abt 23-25 cm long,
and put a small hook at one end of the stick.

DSCF3631
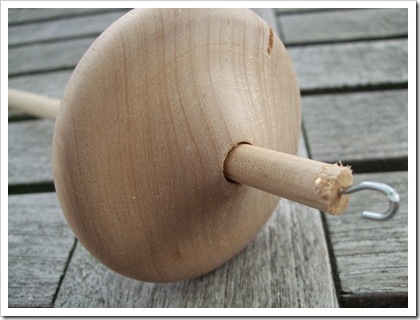
Push the wooden stick through the whole in the wooden plate and
tadaa!! You now have your own drop spindle! I made four of them so far,
and with two of them I was lucky the stick fits perfectly in the whole,
but two of the needed some glueing to make the plate stay in place.

Now, head over to youtube and search for drop spindle spinning videos.
There are lots of them actually. Then head over to Ravelry and join one or several
of the spinning groups and start reading the discussion boards.
From there you will for sure get enough information to get started.

Happy spinning!

Tatty teddy flair button

aaa

Tassel tutorial

I use tassels for decorating beanies and bags.
This is how I make them.
DSCF3467
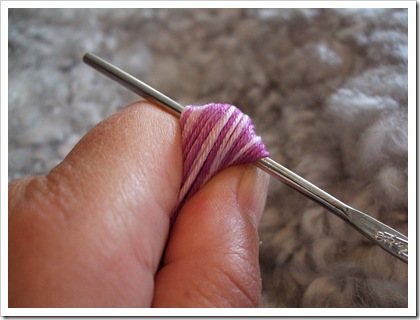
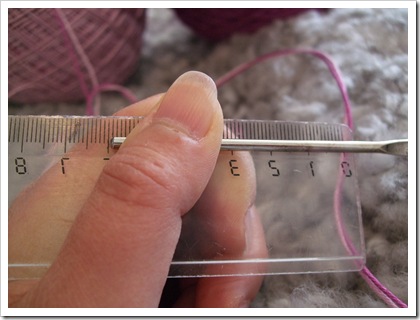
Find something as wide as the finished length of the tassel. I use a ruler.
Hold a crochet hook close to the ruler.
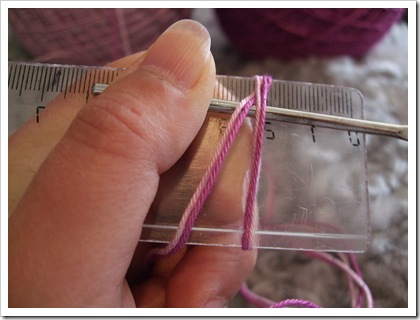
DSCF3469
Wind the yarn around the ruler and the crochet hook.
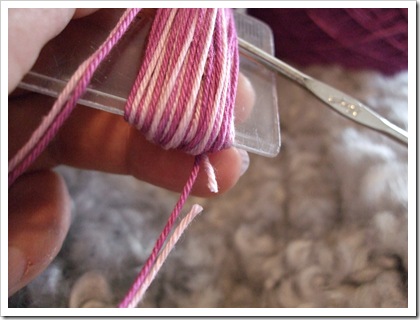
DSCF3471
When your tassel is thick enough, if you use two yarns – cut one of them close.
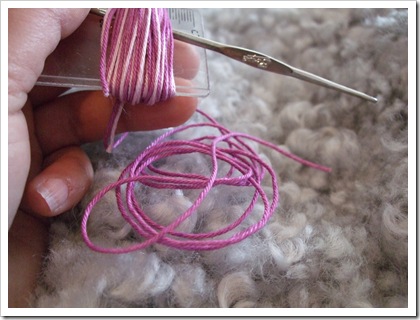
DSCF3473
Cut one yarn long enough to use for finishing.
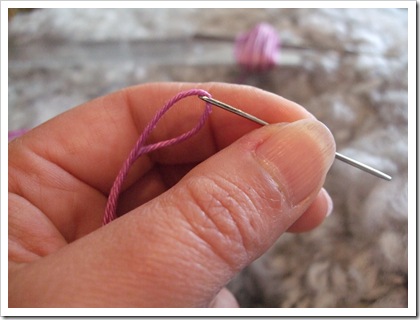
DSCF3474
Thread a needle to the yarn.

DSCF3475
Pull the tassel off the ruler, but keep it to the crochet hook.
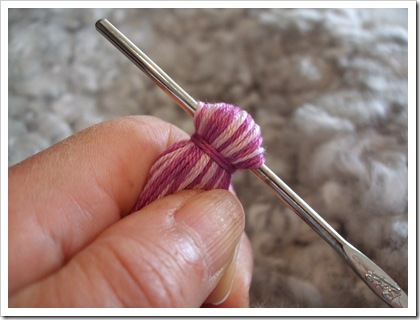
DSCF3476
Wind the yarn around the tassel, close to the crochet hook.
Make sure to wind as hard as you can (but don’t break the yarn).
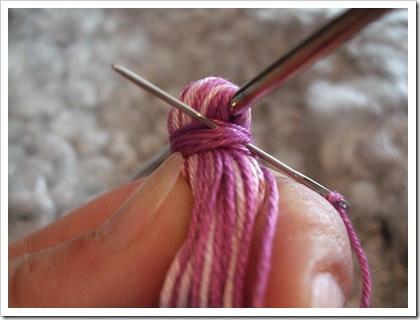
DSCF3477
Fasten the yarn through where it is winded around the tassel.
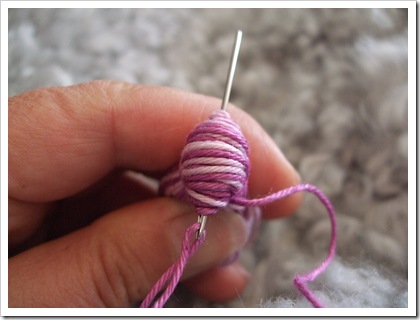
DSCF3480
Pull the yarn off the crochet hook very carefully.
Make sure you keep the “hole” open at the top of the tassel, and insert the needle.
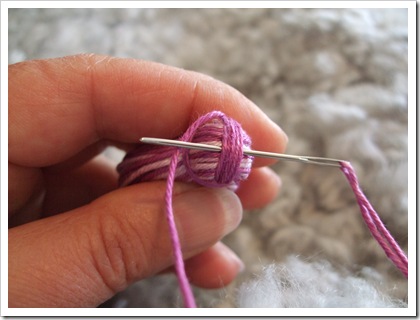
DSCF3483
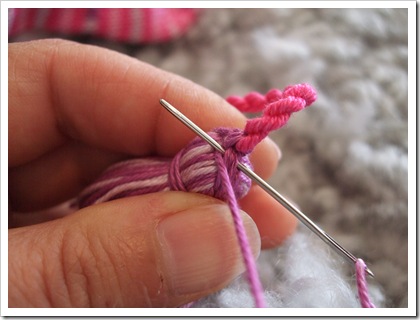
Sew five or six times through the hole, around the top of the tassel.
Fasten the yarn as in the picture, and pull the yarn all through.
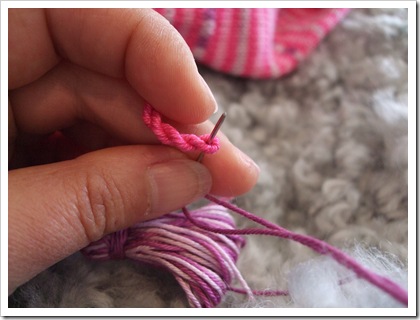
DSCF3487
Sew the tassel onto your project.

DSCF3489
A few stitches around the tassel and the project.
Make one or two locking stitches.
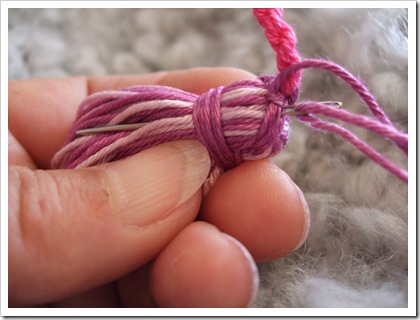
DSCF3490
Push the needle down the tassel to lock the yarn and
cut it off the same length as the tassel.
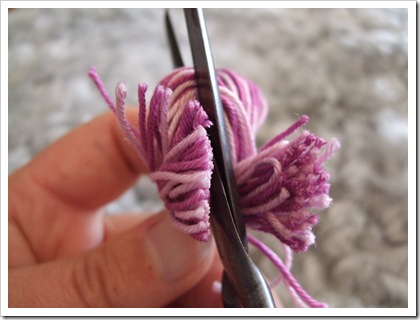
DSCF3491
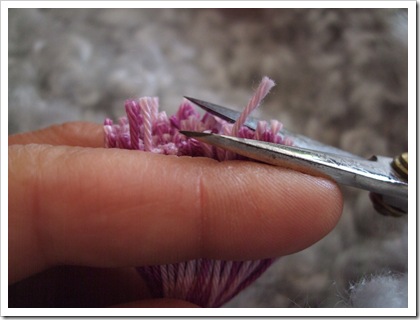
Cut all the yarn loops open.

DSCF3493
Hold the tassel tight between your fingers and trim the bottom.
Turn a quarter and trim again. You will have to make this over and over
several times until the tassel is completely even.

DSCF3495
This is how the finished tassel will look.

Happy crafting!

crab

Colour change tutorial

When crocheting squares and rounds and hexagons, like the African Flower,
there are several ways to make a colour change on a new round.
Here is how I do it.

DSCF3193
You have made the last chain stitch of the first row of an African Flower.

DSCF3194
Now cut the yarn.

DSCF3195
Pull the yarn through the chain stitch.

DSCF3196
Insert the hook at the top of the first dc on row one.

DSCF3197
Get the loose end with the hook.

DSCF3198
Pull the yarn through.

DSCF3199
Insert the hook from below in the last chain stitch of the round and get the yarn.

DSCF3200
Pull the yarn through to the back.

DSCF3201
Now your crochet piece will look like this.
The joining between the first dc and the last chain stitch of round one
is almost invisible, looking same as all the other stitches.

DSCF3202
Now insert the hook at the joining point and get the new yarn.

DSCF3203
Pull the yarn through to make the first loop.

DSCF3204
Get the yarn again with the hook to make the first chain stitch,
and make sure the loose end of the yarn is above the hook.

DSCF3205
Pull the yarn through and your first chain stitch is made.
Notice how the loose end is above the yarn and behind the stitch.

DSCF3206
Now when you make the second chain stitch the loose end gets locked
between the two stitches. Make the third chain stitch.

DSCF3207
Continue with the dc and make sure both the loose ends lay flat against
the crochet piece and make the dc’s around the loose ends.

DSCF3208
When you made three groups of dc’s your piece will look like this from
the back side. The loose ends are locked by the dc's.

DSCF3209
Cut both the loose ends off and continue crocheting.

mia2